There is nothing quite like the smell of fresh sourdough coming out of the oven. Every loaf has a story—from the starter that I’ve nurtured (like a second child, honestly) to the satisfying moment of slicing into that crispy crust and seeing the airy crumb inside. I’ll share the process, some tips I’ve learned along the way, and how I turned this loaf into one that my family couldn’t get enough of. Sourdough is more than just bread—it’s a little slice of joy.
Ingredients:
50g of active sourdough starter
350g of water
10g of fine sea salt
500g of bread flour
Directions:
Mix the dough: Transfer 50 g of the active starter and 350 g water into a large mixing bowl. Stir to distribute the starter evenly. Add 500 g bread flour and 10 g sea salt to the bowl and use a stiff spatula or your hands to work the ingredients together until it forms a shaggy mass and there are no dry bits of flour left in the bowl. Cover the bowl and let the dough rest for one hour at room temperature.
Stretch and Fold (s&f): Wet your hand with a little water to prevent sticking. Pick up the dough on one side and stretch it up and over itself. Turn the bowl a quarter turn and repeat this step until you have turned the bowl a full circle. The dough should form into a tight ball. Cover the bowl and let the dough rest for 30 minutes. Repeat the stretch and fold process three more times to help build volume in the final loaf. (there will be a total of 4 s&f 30 minutes apart)
Bulk Fermentation: Cover the bowl and let the dough rise for 7-10 hours on your kitchen counter. The dough will have risen by about 50-75%, not doubled, when it is ready to shape. (If the dough has doubled in size and/or is hard to shape, it may be over-proofed. Reduce the rising time on your next bake.)
Shape and Second Rise: Turn the dough out onto a lightly floured surface. Shape the dough into a ball by pulling 4 sides of the dough into the middle of itself. Turn the dough over so that it is seam-side down. Use your hands to gently cup the dough, pulling and twisting towards yourself until it forms a tight skin on the outside. Center the dough onto a piece of parchment paper, seam-side up and place in a proofing basket. Cover the bowl with a tea towel and let the dough rest at room temperature for 1-2 hours. If you aren’t ready to bake, place it in the fridge. Use your thumb to make an indentation in the dough about a ½ inch deep. If the indentation quickly springs back all the way, or almost all the way, it’s under-proofed and still needs more time to rise.
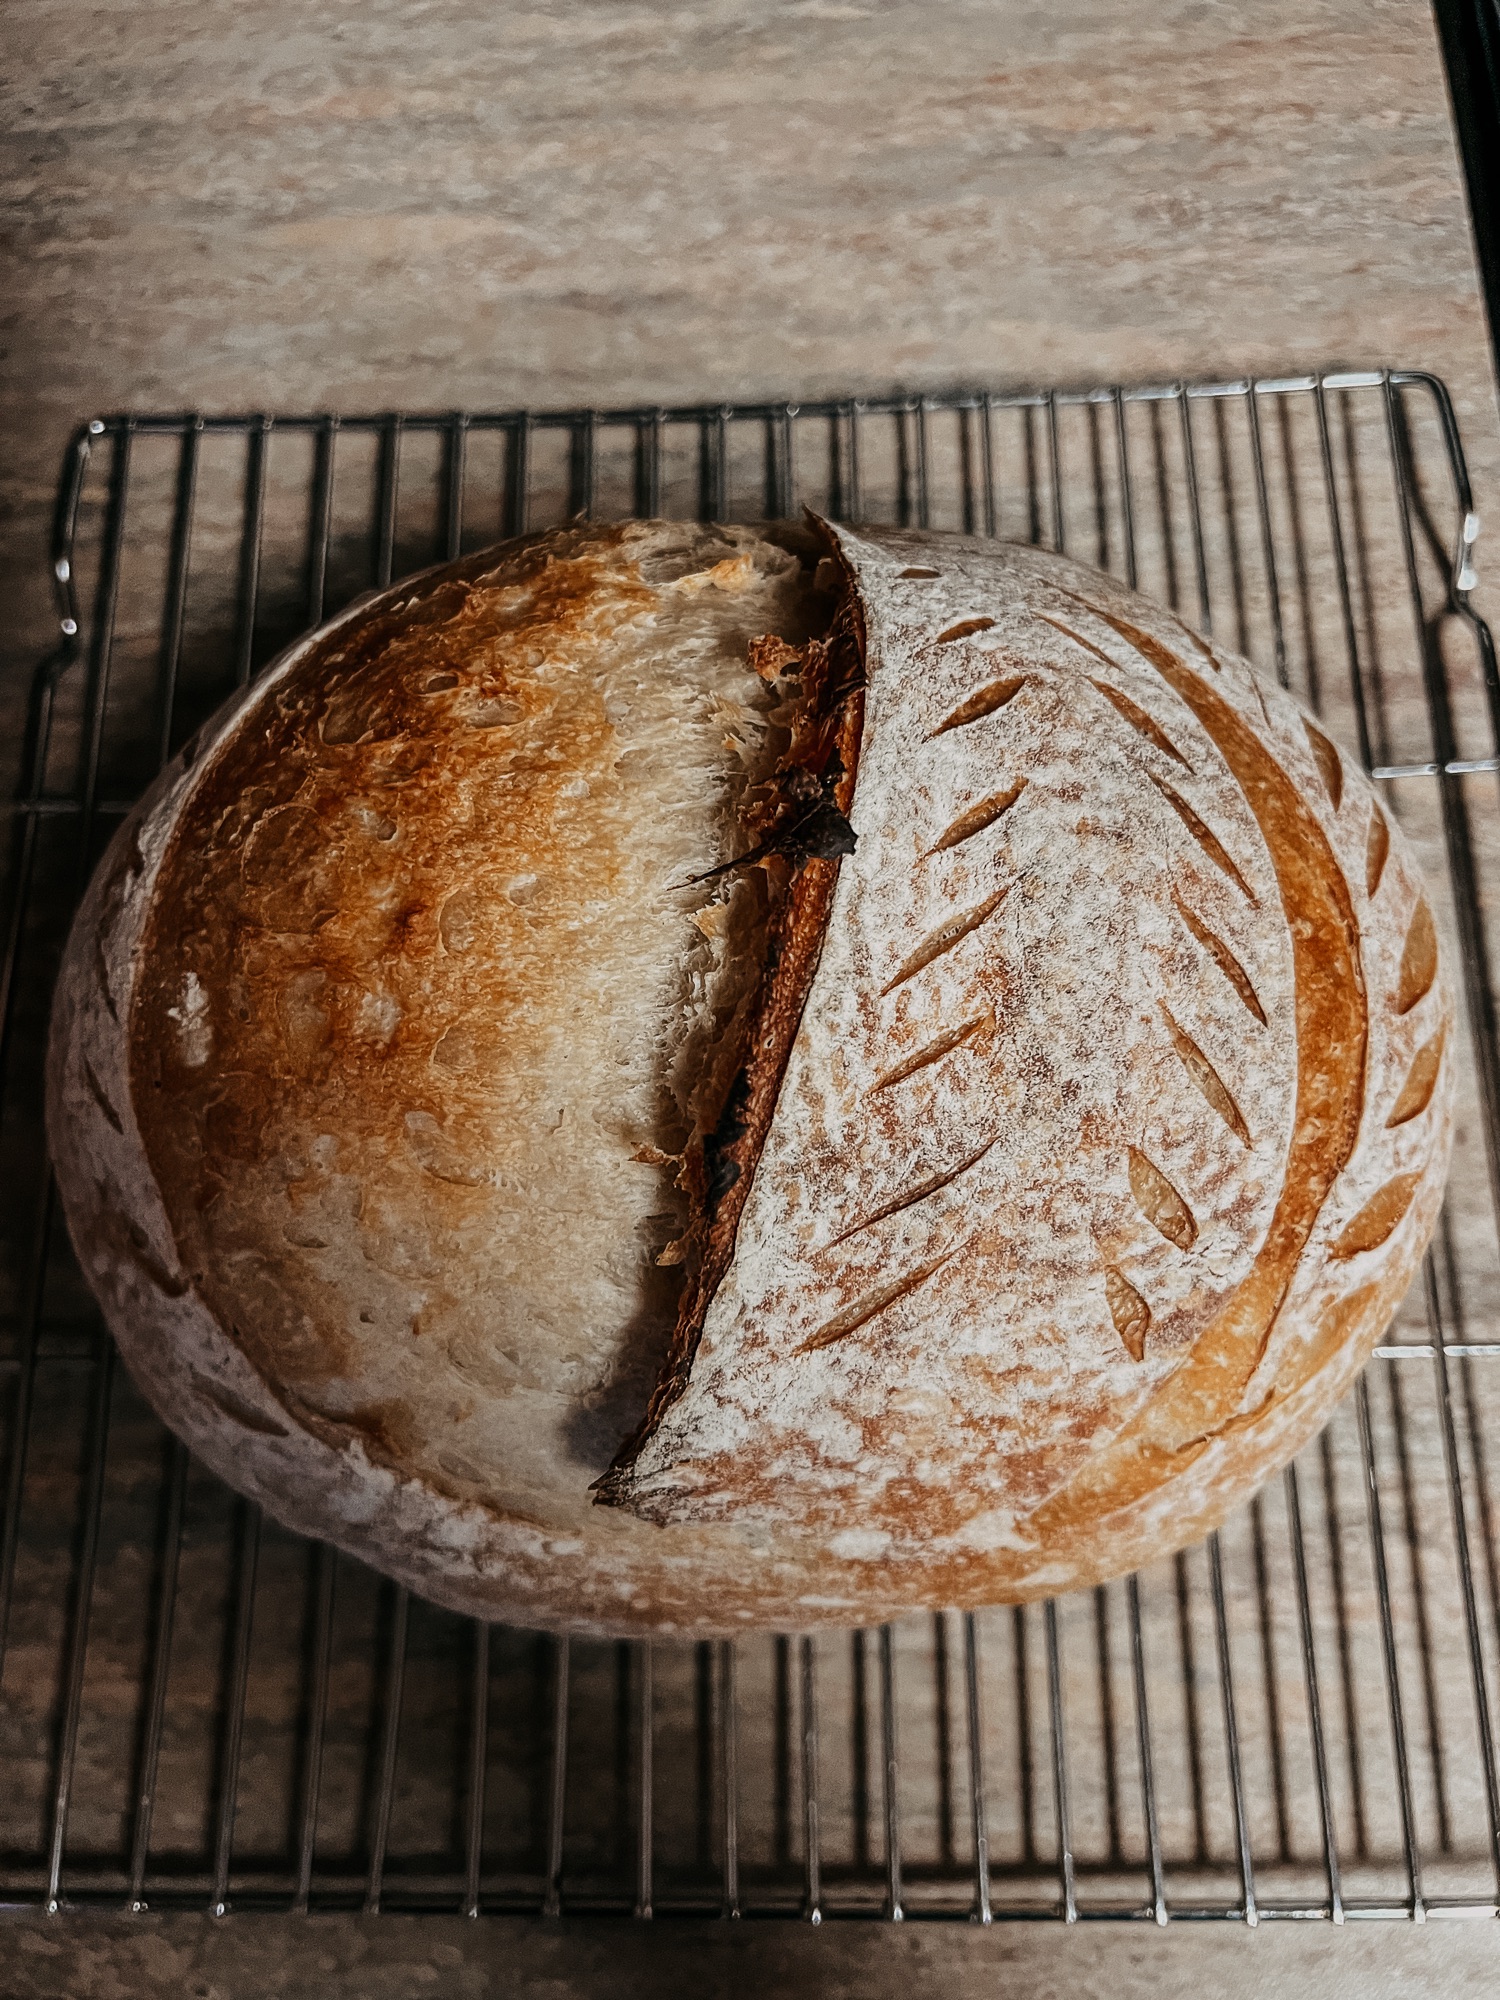
Score and Bake: Before you’re ready to bake, preheat the oven, with the dutch oven inside, to 450°F). Carefully remove the hot dutch oven and take the lid off. Once the oven is ready, score the top of the dough with a razor or a sharp knife. Once again, use the parchment paper as a sling to lift the dough up and transfer it into the dutch oven. Place the lid on the dutch oven, return it to the oven and bake for 20 minutes. Remove the lid and bake for an additional 20-30 minutes or until the crust is golden brown. (The internal temperature of the bread should be around 205-210°F using a digital food thermometer.)
Cool: Transfer the baked bread to a cooling rack for 1-2 hours before slicing. The bread will continue to cook inside during this time. If you slice into it too soon, it will result in a gummy loaf.
Store: Do not refrigerate. Freeze full loaves or individual slices wrapped tightly in plastic wrap and inserted into a freezer-safe container for up to 3 months.
Download the recipe card below!
